
Valentine’s has gone but
it doesn’t mean we forget the colour pink. We love decorating in pink and
with hearts, so we’ve thought why don’t use these shades all year.
Let’s decorate together
this cupcake box

What you need:
- Scissors
- A drawn heart on a
patterned paper
- A lovely lengthened
stamp (this one is from Cromatismes)
- An ink pad
- A small piece of threat
- Nice buttons (these
ones are also from Cromatismes)
- Our box for four
cupcakes, ref. 2214_L
What we’ll do first is
stamp the lengthened stamp on the box before assembling it. It doesn’t matter
if it’s not in the centre of the box but it must be straight. Same tip if you
want to apply adhesive tape or washi tape, better before assembling it.

Once
the box is already stamped, we’ll start building it. This model is very easy to
assemble, in any case, you’ll find an explanatory video here to know how to set
up the box.

This
box doesn’t need glue or adhesive tape to assembly it. So, it makes the job
much easier ;).
At
this point, your box should look like this.

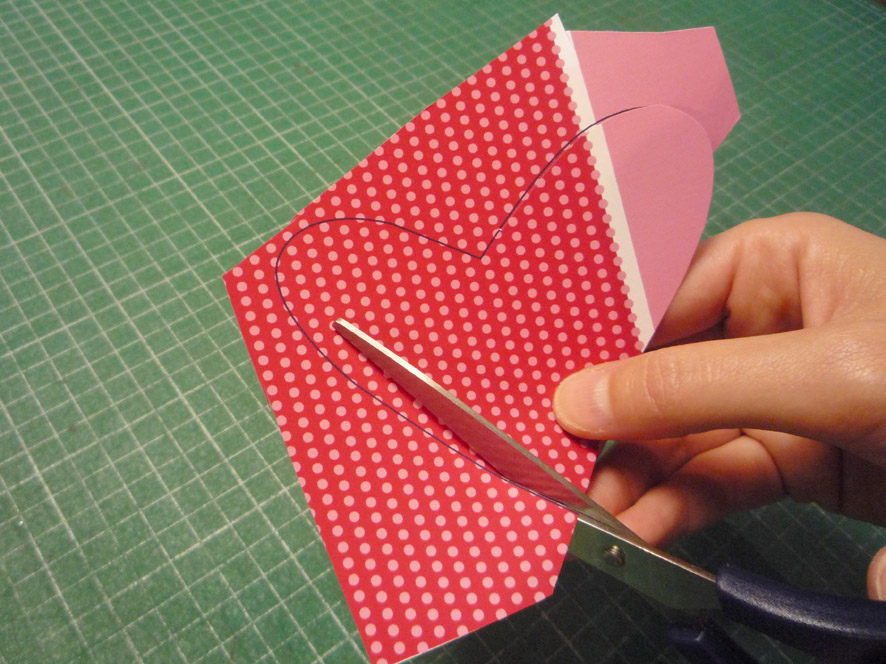
Then,
we cut the heart we drew previously on the patterned paper. The pattern and the
heart design is up to the look you want to obtain. We’ve drawn a heart on a red
and pink pattern and in an irregular way, we’ve avoided the typical rounded
heart. Test your originality!
Glue
the back of the heart to stick it on the box’s lid, just above the stamp
pattern.


Afterwards,
pass the buttons trough the thread, one by one and facing up. We took five
buttons only but it will depend on the size of them.
Tip:
Stick a little bit of adhesive tape around the thread to start threading
easily.

Take
the thread with the buttons and go with it across the box. Tight the thread as
a ribbon at the side.


Et voilà! Here you have
your cupcake box to keep all your love in.


No comments:
Post a Comment