Search in Selfpackaging

Showing posts with label craft ideas. Show all posts

21 Jan 2014

STAY CALM, WE HAVE BOXES FOR A CAKE POP

If some days ago we introduced the clear boxes for cake pops and our cake pop inserts for our popcorn boxes, today it's the time for the boxes for a single cake pop.

We wanted to design a box for cake pops to keep them individually, we started to think about it, tossing and turning all night, and finally the inspiration came to visit us. We got down to work and here is our final result.
A perfect gift for your wedding guests, baby showers or b-day parties!

The cake pop boxes come with a hole or without it, depending on how mysterious your cake pops will be: if you want to keep the secret until the last moment or if you want to let people know how your delicious cake pops look like.


You can’t be sad when you are holding a cake pop!!

23 Oct 2013

Tutorial: original gift box


We can’t wait any longer! We want to introduce our latest design! A new gift box!
All the orders placed between Oct. 23rd and 29th, will receive a bonus gift! Five units of our new gift box! It's not even in our catalogue yet, but it will be added soon. What do you think??


While we are preparing the assembly video, here is a tutorial to show you how to make it! It's easy!
   
First of all, this is what you will receive (no double-sided adhesive tape required for the assembly):

- 5 elongated pieces in turquoise
- 5 elongated pieces in fuchsia


It's so easy! You just need to insert into each other, as shown, alternating the colours:


Repeat the procedure successively, a fuchsia piece, then a turquoise one, until we have this nice peacock tail

Once all the pieces are put together in place for one of the sides, we turn the ‘fan’


Next, we start fitting the other sides to each other, starting from the right-hand one and placing each one after the other, as shown, always from the bottom:


Keep going on with the process, piece by piece:


And our gift box is ready! A tidy little surprise to delight everybody… Ta-dah!

8 Oct 2013

Are you ready for Halloween?


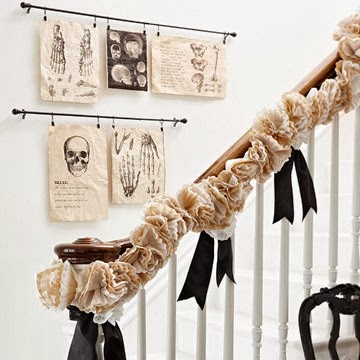
Halloween atmosphere has just landed in our studio. Some pumpkins, spider webs and wicked witch laughs are surrounding us. That’s why we have decided to get down to work to create some Halloween tutorials. But first things first, we need some inspiration before designing. Here some useful ideas to decorate your home on Halloween.


blog: Parents


4 Jun 2013

FOX BOX ❤ ❤ ❤

We know you love DIY tutorials with downloading materials more than children love candy bars so…

Here you are! Check what super idea we give you today to make with our gift bag 

The little box is reference number 2001 in our catalogue, in its small size. 

Cardboard fox detail 


The final result is ideal as a welcome gift for a baby. Baby showers or christening parties are not going to be bored anymore.

We have thought about everything, so you can choose between “It’s a boy” in blue or “It’s a girl” in pink.

Welcome baby 


This time we are not going to give you complicated steps to follow to make the box, because they are not necessary.

The only thing you need is our gift bag ref. 2001 and these PDF files that you can download for free clicking on the image below.


Doesn’t matter if it is a baby girl or a baby boy… The result will be super cute anyway.


But, as we said, we have thought about everything… If the gift bag doesn’t suit your needs to wrap your present… What about if you prefer any other of our gift boxes?


No worries! Because you can download these decorated labels collection as well. They are ideal for that occasion.

So… baby girl or baby boy, you already have the material for your welcome presents for totally adorable babies!


Welcome baby!


More baptism ideas

7 Feb 2013

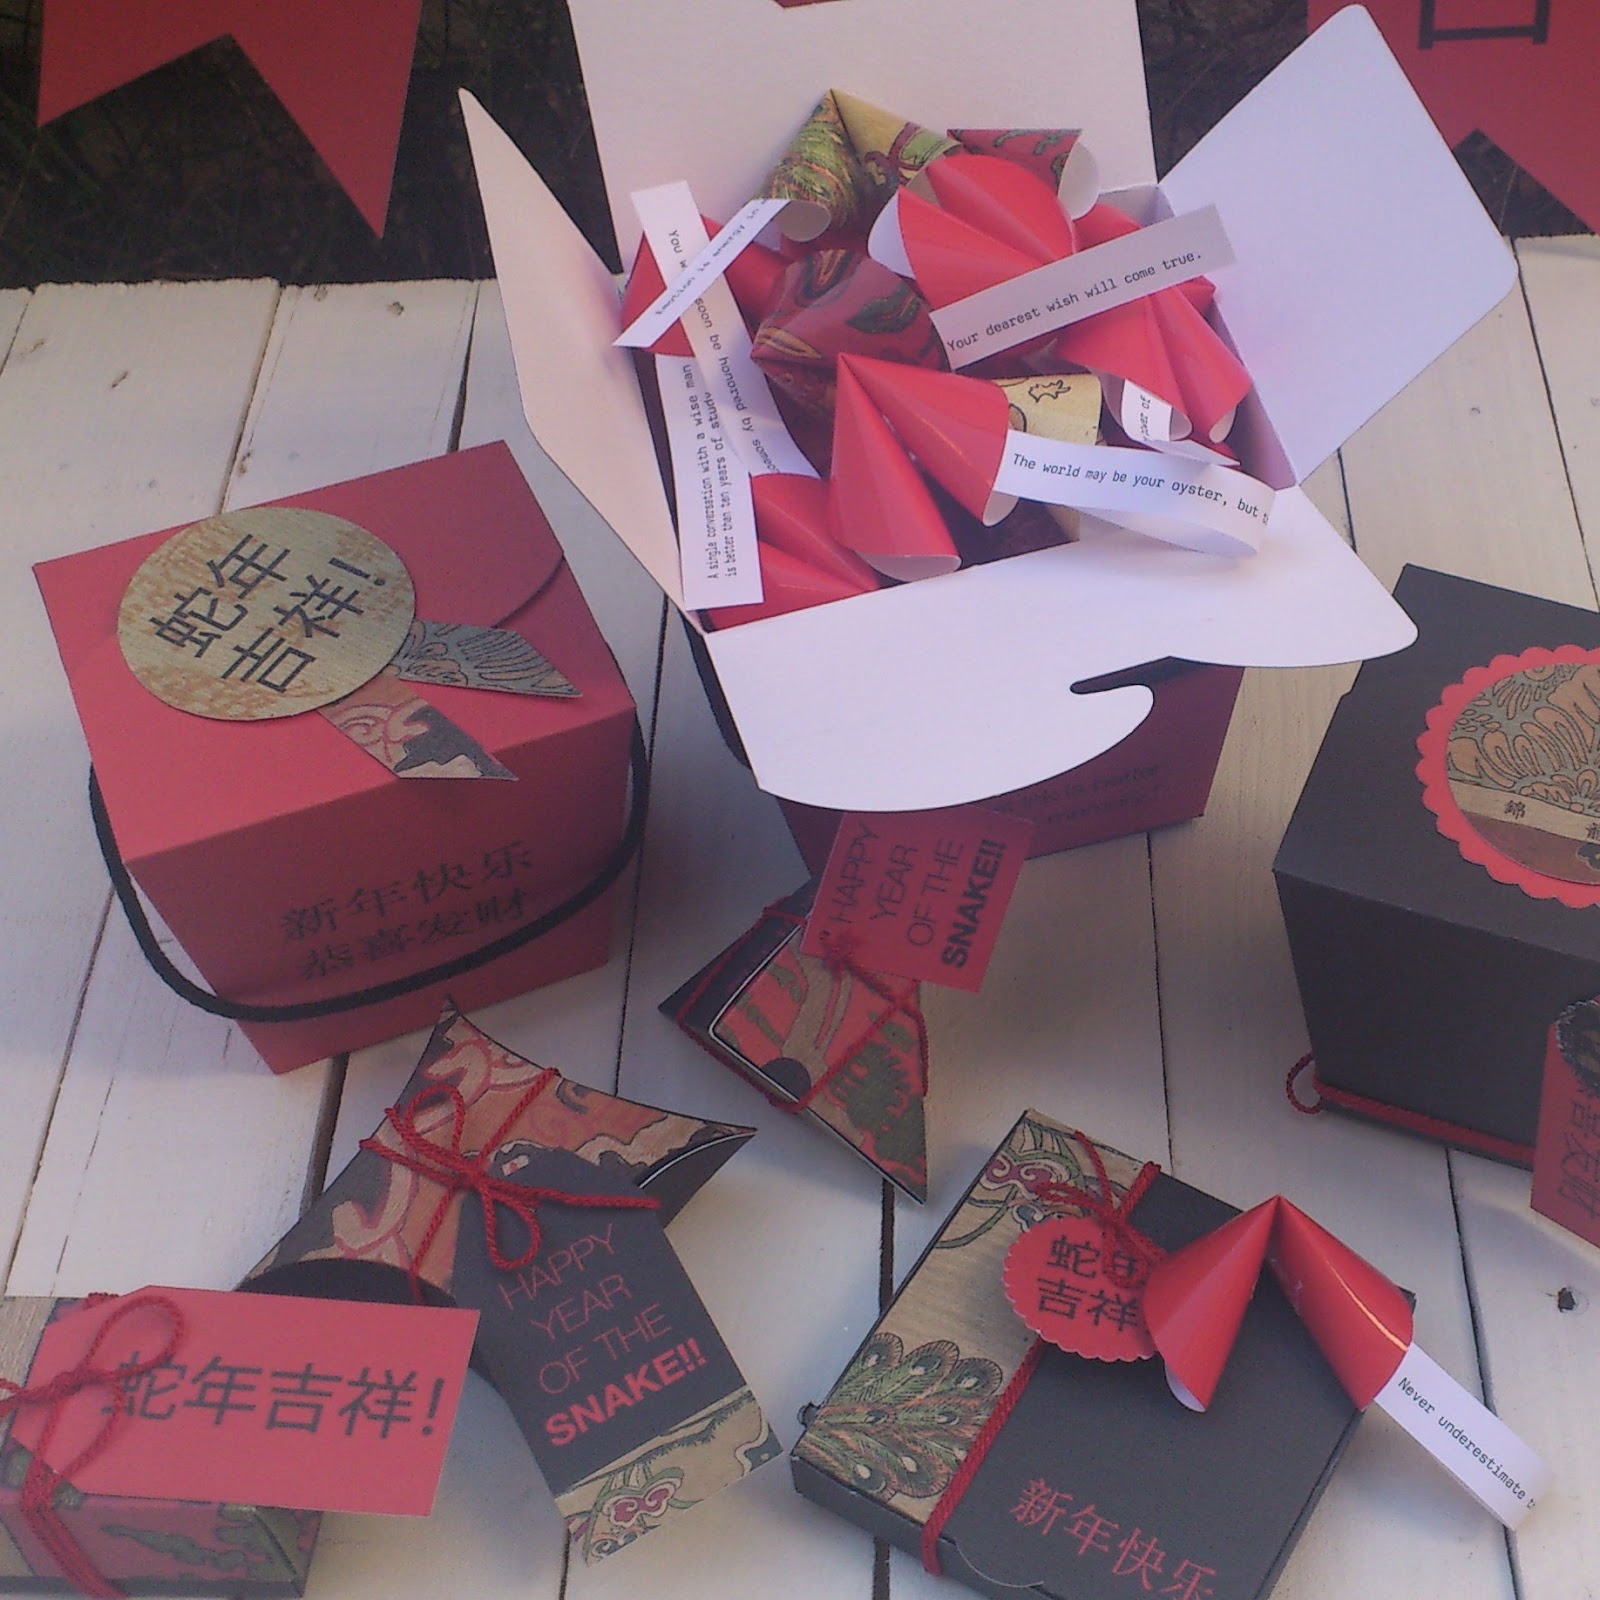
YOUR DEAREST WISH WILL COME TRUE THIS YEAR OF THE SNAKE


If you didn’t have time to ask for your wishes at New Year’s Eve, let the fortune cookies predict them for you. Or even better make your own fortune sentences and share luck with everybody.
Once you’ve already chosen your fortune sentences, it’s time to make the cookies. It’s true, you can bake them, but we are so fans of paper and cardboard handmade that we can’t resist making them of these materials.

What we need
Colour papers, Scissors, Pencil, Glue, Something round about 10cm of diameter, such as a rounded lid


Mark the outline of the round object on the colour paper, or you can use a compass to do it if you are more precise and mathematic. Make the circles you wish. The more you draw, the more fortune you’ll have ;)


Once it’s done, bend it half way and push with your finger at the centre, as you pretend to get together the opposite sides of the circles. You can see it properly on the image below. Once the mark is done, glue this central part.


And ready to eat… I mean ready to open! ;)


Do you have everything ready to celebrate the Year of the Snake this Sunday? We have a great combination of boxes ready for our guests. The Chinese noodles box it will be the ‘must’ of the party.


And you, are you ready for this reptile year?


24 Jan 2013

'BE MY VALENTINE' COMPETITION

Creative minds around here?


We’re sure they are… that’s why we would like to let you know a DIY competition where you can win a lovely SelfPackaging kit: 30 Chinese noodles boxes in white and picnic boxes in pink , 60 labels with love messages, 60 heart pendants in white, 60 heart stickers in white.


Spread love everywhere with our Valentine’s boxes, stickers and labels!!!

Oh my God! Seriously? Are we going to give you for free all this stuff? I think we have gone crazy.

Where can you submit your projects? On Funkytime! This online magazine is the responsible for this competition under the name of ‘Be my Valentine’, easy to guess what the topic is.

Put all your heart on it, be creative and you can win this wonderful SelfPackaging kit and lots of other cute things.
We’ve already recommended you some ideas on our blog, but let the Valentine’s magic surround you: hearts, pink and red colours, small Cupids everywhere.

We’ve already seen some of the submissions here, how cute they are! We’re super excited to know the name of the winner! It will be at the end of the month! So, hurry up and start making your nice project.

Lack of inspiration? We’ll give you some ideas to encourage you to become all your love into a DIY project.

Good luck my lovely designers!


Funkytime ideas 
We know that it was always you! Find it on our website


Funkytime labels

A smart Cupid Arrow with a love messages by La tête dans les idées
 You'll be always in my heart - Heart necklaces by Jillian in Italy

Hungry?
Painted bread by Mood Kids
 
 Cookies in a our box 1280

17 Jan 2013

MADLY IN LOVE WITH SELFPACKAGING

SelfPackaging has a box for each occasion: for Christmas you have the box in the shape of a star, for Easter the rabbit one… Then we considered that another special occasion as Valentine’s Day should have a proper box. That can not be another thing that a heart to melt somebody else’s heart down.

As always, the inner part is up to you (chocolates, jewellery, might it be a special ring?), and about the outer part… let us share with you some ideas

What we need:

- Colour papers: Sorry, for Valentine’s Day, we can’t avoid it, the main colour is pink.
- Glue
- Pencil
- Scissors


Once you have everything, let’s start. Take one of the colour papers -I think you don’t have any other chance, it’s pink- and draw a spiral on it. Then, cut it and, from the centre to the outside, blend the paper in spiral shape as well (hard to explain, easy to see on the below pictures).


Put glue at the back, the smallest part, and repeat the sequence the times you wish, or the times you need to make all the items to cover your box.


Here you are, our lovely box ready to give it as a love present. You have, at the same time, a bouquet of flowers and a nice heart ;)


We mixed the Valentine’s pink with shades of ‘nude’ and brown which give the box a ‘romantic’ look.

If you don’t have so much time or you don’t want to spend it on that issue, you can use the same technique to reproduce that cute heart in a smaller scale as we did. You know we are cord fans… some cord around the box to give it a ‘handmade look’ and labels with love messages or if you don’t have enough hearts yet, cut one label in heart shape.


Ok, let’s stop talking about hearts, you also use this paper technique we show you to decorate a box, using it as a motive: small bouquets of flowers on the box corners and the well-know cord and label decoration.


Super ready to see your ideas and what you’re going to put inside. We love ‘romantic presents’.

Happy early Valentine’s Day!
You might also like...